
The tech side |
| Why pinhole |
| Building a pinhole camera |
| Buying a pinhole camera |
| My cameras |
Galleries |
| Cardboard cylinder |
| Anamorphic cylinder |
| Matchbox |
| Film canister #1 |
| Film canister #2 |
| Solargraphs |
| Isolette |
| Hole-ga |
| 7-pinhole-Billy |
| Pizza box |
| Pinhole movies |
| Seymour 135B Matchbox camera: A4 size Letter size |
| About the photographer |
Building a pinhole camera, cont'd...*Wait for the paint to dry before you go on* 8. Cut a hole in the box where you want to place the pinhole.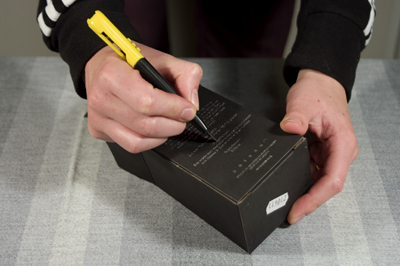
You will need some space around the pinhole to avoid getting the camera box cover parts of the image. ................................................................................................... 9. Tape the pinhole to the inside wall of the box.Fasten the pinhole piece with electrical tape. Place it inside the box to protect it better. 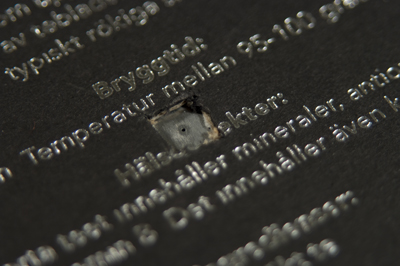
There you go! 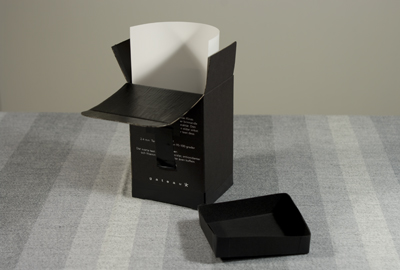
Then place a piece of black tape over the pinhole to make the shutter and you're done! I also made a kind of light leak hat for my box to prevent light from getting in around the top of the box. All other possible light leak sources I taped up with electrical tape, both on the inside and the outside of the box. ................................................................................................... 10. But what about exposure?Well, now that I know the size of the pinhole and the distance between the pinhole and the photo paper I can calculate the f-stop number: focal length / pinhole diametre. For my camera, that is 65mm / 0.36mm = 180. If you think of an ordinary lens camera, you can continue counting the f-stops from the aperture ring: 11, 16, 22, 32, 45, 64, 90, 128, 180, 256... and for each step, you will need to double the exposure. My new camera, with an f-stop of 180 will need 6 extra exposure steps compared to what you would get from what is usually the smallest aperture of an ordinary lens camera. Long exposures also make it difficult for light sensitive materials. The rule of doubling the exposure for every f-stop step does not hold for prolonged exposures. Different films and photographic papers react differently to this kind of treatment, and trial-and-error is probably the best way to go about things, and if you want to be an expert, write down what you do so that you can repeat procedures later on. ................................................................................................... 11. Time for some testing...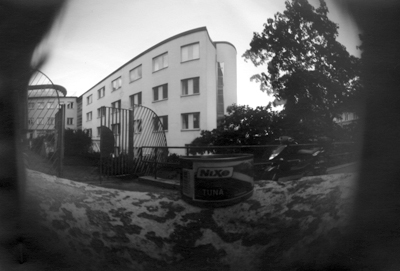
This is the very first test shot, a one minute exposure, under a lighly clouded sky, on Forte Bromofort paper, 160x105mm paper negative. 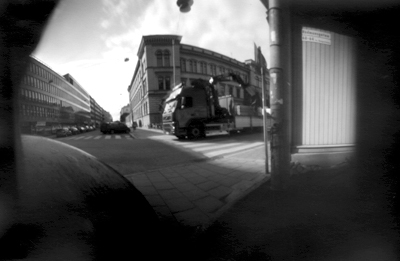
Test number 2: Sunshine, 30 seconds, again with Forte Bromofort. The tea box camera is finished and ready to use! |
Links |
| Interesting reads... |
| Pinholeday |
| Zero Image |
| Pinhole resource |
| Peter Wiklund |
| f295 |
| Solargraphy! |
| Dirkon |
| Maco Direct |
| Lumiere Shop |
| Fotoimpex Berlin |
|
|
| |
| Lena Källberg Photography |